From the beginning of my Land for Wildlife journey I knew that I wanted to document and label everything I planted. Over the past ten years, I’ve experimented with several different methods to do just that.
Aluminium tags were unsuccessful. Many of the tags were stolen by birds (they are shiny, after all) and I often found them lying in the garden a long way from the plant. Branches with tags sometimes broke off and the tags disappeared. A tag nailed to a tree disappears when the tree grows up. When using wire, the wire and even the tag itself can get embedded in the tree as it grows. And attaching tags of any kind is unworkable for things like small shrubs, groundcovers, grasses and other small plants.
Plastic tags were eliminated very quickly as anything made from plastic deteriorates rapidly in the open.
The next idea was to use ceramic tiles left over from the house renovations.
I used paint pens to write on the tiles. They had to be baked in the oven for 20 mins to set the paint. I would then prop up the tile against a small rock near the plant. The paint was very durable, and all was well for a while. Then I discovered that the wildlife would scratch around the tiles, and they ended up buried under leaf litter. Because I couldn’t see them anymore, I would accidentally step on them and break them and that was the end of that method.
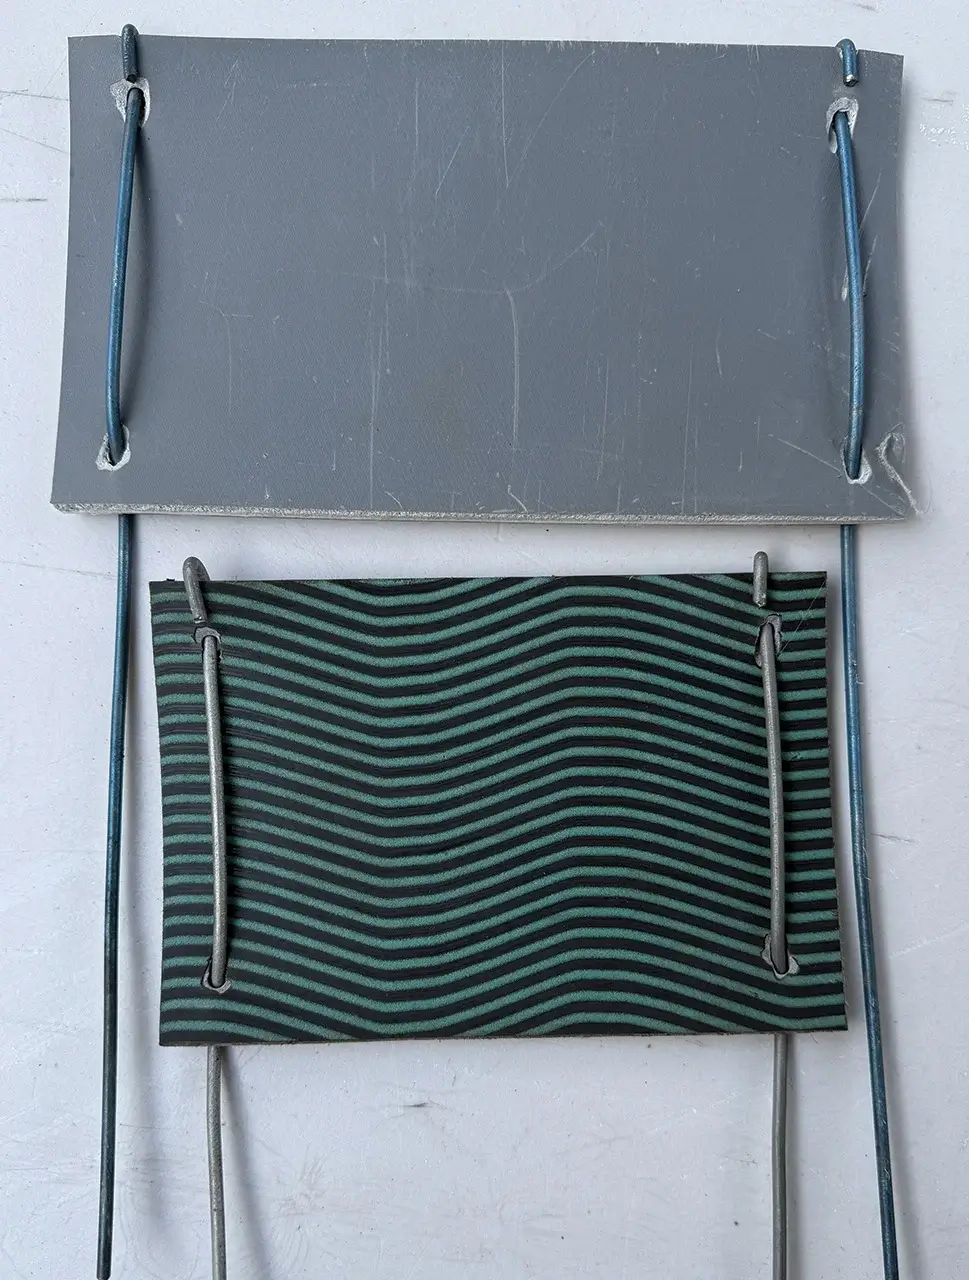
The final solution, and the one I have stuck with ever since, was to use vinyl plank offcuts.
Again, the first ones were left over from the house renovations. When those ran out, we discovered you can find offcuts and leftovers in the skips behind some carpet shops, or you can ask nicely in the shop, and they are often happy to give away some old display stock or similar.
I use oil-based paint pens to write on the vinyl, and I’ve found that the Sharpie brand lasts the longest. In most cases black is the best colour, but if your vinyl is very dark you can also use white paint pens. Cheap, thin vinyl isn’t worth using – it tends to buckle, becomes brittle, and the paint fades quickly. It’s best to use good quality thick vinyl which I cut to size with a large guillotine.
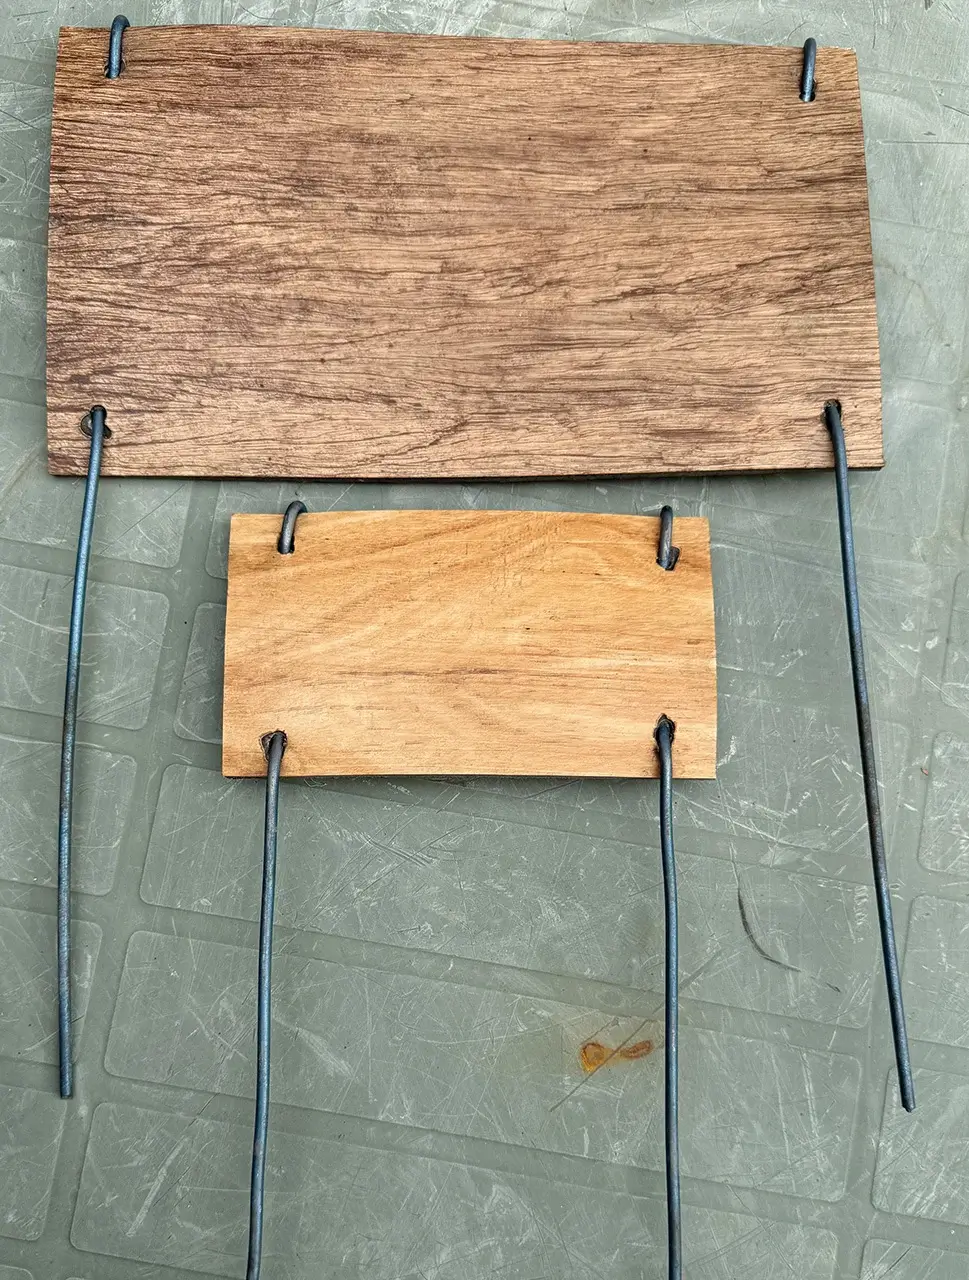
The finished label is then given thick wire legs. These are firmly attached to the sign and are pushed into the ground. The length can be varied depending on the vegetation around the plant. Not even bush turkeys can move them around!
Placing the labels so they face south helps to prevent fading. After a few years some of them need to be touched up. Some stay fresh for many years, and I suspect it’s to do with the type of vinyl being used.
If the plant dies and is not being replaced with the same species, the writing can be removed with acetone and the sign reused for another plant.
This method works for all plants, from grasses to large trees, and the size of the label can be varied to suit the plant.
Each plant has a unique ID number which is recorded in a database and written on its label. I record where I bought it, when I planted it, and other relevant information.
Of course, there are better looking and more professional ways to label plants, but this low-cost method continues to work well for me.
And finally, my visitors can take self-guided tours through my garden without ever needing to ask, “What’s the name of this plant?”

Article and photos by Maria Rosenfelder
Land for Wildlife member
Palmwoods, Sunshine Coast